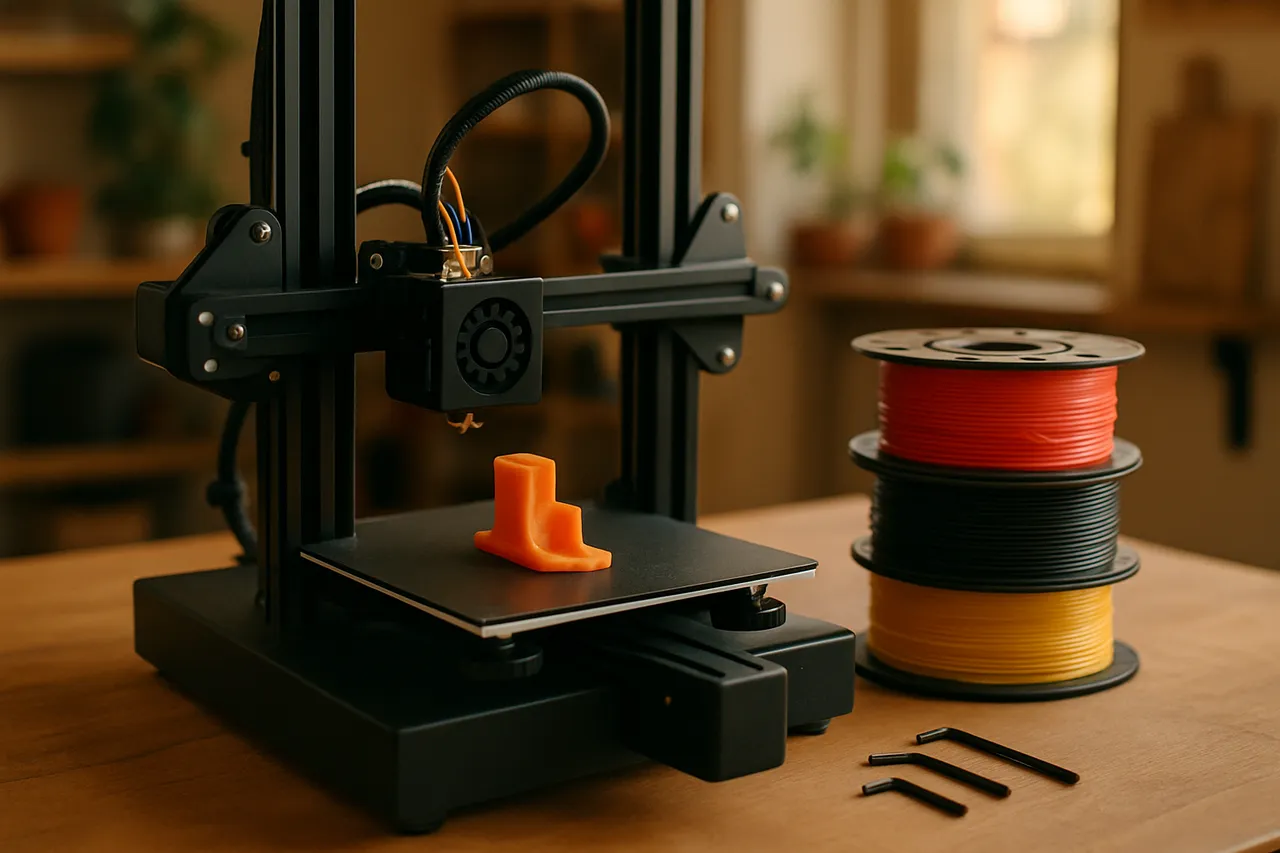
3D Printing 101
This is a hands-on beginner course for anyone who's looked at a 3D printer and thought "I could probably make the exact thing I need instead of buying it wrong three times." We start at the machine and work up: how FDM printers actually work, picking a first printer, filament (spoiler, it's PLA), slicing, finding and prepping models, and getting a first print to stick. I'll bring my failed prints, because you'll learn more from those than from a clean demo. We'll troubleshoot real layer problems and end with simple functional design you can use around the house. You leave knowing your machine, having printed a few real things, and knowing why prints fail so it doesn't stop you.
What you'll learn
- Explain how FDM printers turn filament into objects
- Identify key printer parts: hotend, bed, extruder, motion system
- Choose the right filament and store it properly
- Adjust slicer settings that actually affect print quality
- Diagnose common print failures like warping and stringing
Materials & tools
What to bring
- Notebook and pen for jotting down settings (temperatures, speeds, and what fixed a failed print) — $2-5
- 1 kg spool of PLA filament, 1.75 mm diameter — pick a light or mid-tone color so layer problems are easy to see — $18-25
- Digital calipers (0-150 mm) for measuring parts and checking filament width — $15-30
- Painter's tape or a glue stick for bed adhesion if your printer bed is bare glass — $3-6
- Plastic or metal scraper / putty knife to pop finished prints off the bed — $4-8
- Flush cutters (side snips) for trimming supports and clipping filament ends — $6-12
- A USB drive or microSD card to move sliced files from computer to printer — $6-10
- Laptop with a slicer installed before class (free — Ultimaker Cura, PrusaSlicer, or Bambu Studio) — $0
Nice to have
- A small tube of print-bed adhesive (PVA glue stick or purpose-made spray) for stubborn first layers — $5-10
- Fine-grit sandpaper (220 and 400) for smoothing print surfaces — $5-8
- A pair of needle-nose pliers and a deburring tool or hobby knife for cleaning up holes and edges — $8-15
- A dry storage bag or sealed bin with desiccant to keep filament from absorbing moisture — $10-20
Lessons
- Understanding the machine and buying your first printer
How FDM printing works, what a machine costs, and getting your space set up before anything arrives.
- What FDM printing is and what it isn't20 min
- The parts that matter: hotend, bed, extruder, motion22 min
- Why every print is just stacked layers (and why that limits you)18 min
- Resin exists, we're not doing it, here's why12 min
- Kit vs pre-built: the honest tradeoff22 min
- What $200 to $400 gets you in 202620 min
- The money-saving myth: run the math with me18 min
- Setting up your corner: space, power, ventilation15 min
- Filament, slicing, and your first print
Choosing and storing filament, learning what a slicer does, and dialing in the settings that get a clean first print off the bed.
- PLA first, always, and why20 min
- PETG, TPU, and the fancy stuff you don't need yet18 min
- Moisture, dry air, and keeping filament from going bad15 min
- Reading a spool: temps, diameter, what the label tells you14 min
- What a slicer does, plain and simple18 min
- The five settings that actually matter22 min
- Slow down your first layer (do this every time)16 min
- Supports, infill, and not overthinking it20 min
- Leveling the bed before you blame anything else22 min
- The test boat: run it, judge it honestly18 min
- Finding models, fixing failures, and designing your own
Sourcing and prepping models, troubleshooting the common print failures, and measuring up your first original design.
- Finding good free models without the junk20 min
- Prepping a downloaded model for your printer18 min
- Never run long prints unattended: watch, then check in14 min
- Spaghetti, warping, and layers that won't stick22 min
- Stringing and the small detail problem18 min
- Corner lift on curved bases: the one I still fight15 min
- Measure, print, check the fit: designing a drawer divider25 min
Key terms
- FDM (Fused Deposition Modeling)
- The most common consumer 3D printing method, where a heated nozzle melts plastic filament and lays it down layer by layer to build up an object.
- Filament
- The spooled plastic thread that feeds into the printer as its raw material, most commonly sold in 1.75 mm diameter.
- PLA
- A beginner-friendly, plant-based plastic filament that prints at low temperatures and rarely warps, making it the usual first material.
- Slicer
- Software that converts a 3D model into printer instructions (G-code) by cutting it into horizontal layers and setting speeds, temperatures, and paths.
- G-code
- The line-by-line text file a slicer produces that tells the printer exactly how to move, heat, and extrude to build the object.
- Build plate (bed)
- The flat surface the printer builds on, often heated to help the first layer stick and stay flat.
- Bed leveling
- The process of setting an even gap between the nozzle and the build plate so the first layer sticks correctly across the whole surface.
- Infill
- The internal lattice pattern that fills the inside of a print, adjustable as a percentage to trade strength against material and time.
- Supports
- Temporary printed scaffolding placed under overhangs and bridges that you remove after printing, since plastic cannot be deposited into empty air.
- Adhesion (first layer)
- How well the initial layer bonds to the build plate; poor adhesion is the leading cause of failed prints and is fixed with leveling, temperature, or a tape/glue surface.
Class discussion
- Pinned ·Welcome to 3D Printing 101 - say hi before May 7Jacob Burt · Instructor · 30 replies
- Pinned ·Welcome, and a couple logistics things before ThursdayJacob Burt · Instructor · 16 replies
- Quick poll before we slice anythingJacob Burt · Instructor · 23 replies
- Confession: my first print looked like melted candle waxJacob Burt · Instructor · 20 replies
- Signing up for 3D Printing 101 - already own a printer lolNathan M. · 19 replies
- Post your bracket or bin from this weekJacob Burt · Instructor · 5 replies
3D Printing 101: common questions
What will I learn in 3D Printing 101?
You'll learn how a desktop 3D printer builds a part layer by layer, how to level the bed and get a clean first layer, how to choose filament, how to slice a model into printer instructions, and how to troubleshoot common failures. It's a hands-on beginner class taught with real failures included.
Do I need my own 3D printer for the class?
No. The class provides printers to work on, and you're welcome to bring your own if you have one. Many students sign up specifically because they own a printer they've never gotten to work reliably.
How does a 3D printer actually work?
Most home 3D printers use fused filament fabrication (FDM): a motor feeds a plastic filament into a heated nozzle, which melts it and lays it down in thin layers (typically about 0.2 mm each) that fuse as they cool, building the object from the bottom up.
Learn more: Fused filament fabrication (Wikipedia)
What is the best filament for beginners?
PLA is the standard beginner filament. It prints at a nozzle temperature around 190–215°C with a bed around 60°C, warps far less than other plastics, and doesn't need an enclosure. Get PLA working reliably before moving on to PETG or ABS.
Why won't my first layer stick, or why do the corners curl up?
Corners lifting is usually warping, which almost always traces back to bed leveling or first-layer height. Level the bed slowly with a sheet of paper under the nozzle at all four corners plus the center, then adjust the first-layer height in small steps until the lines squish together without gaps.
More technology classes
Backing Up Your Phone Photos
with Aubrey

Google Sheets for Small Business Owners
with Sara
Introduction to Coding with Python
with Taylor